Today we have Lauren joining us from Lauren Elise Crafted. Lauren has so many beautiful tutorials on her blog and takes the prettiest pictures. This tutorial is so sweet, I am so glad to have Lauren here today! Be sure to check out her shop and follow her on twitter!
. . . . . . . . . . . . . . . . . . . . . . . . . . . . . . . . . . . . . . . .
DIY Balloon Escort Cards + Lapel Pins
{introduction}Hi friends! I am Lauren from Lauren Elise Crafted. I am so thrilled to be helping Danni and guest posting here on Oh, Hello Friend, one of my favorite blogs. I had the pleasure of meeting Danni at the Renegade Craft Fair in Los Angeles this summer and was so excited to talk with her and to, of course, buy some of her awesome jewelry. I am so happy for Danni and her upcoming wedding to Nicholas and like many of you, I cannot wait to see how everything comes together. Today I have put together this fun DIY that will hopefully inspire you to craft something beautiful. Enjoy!
{tutorial}
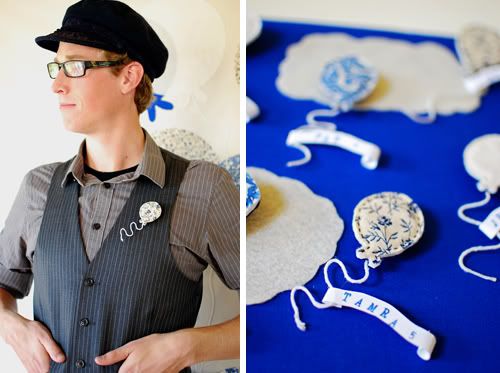
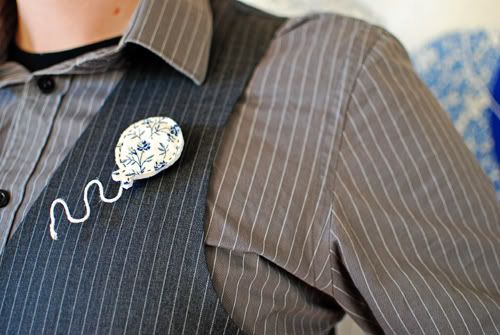
Balloons are fun because they remind me of my childhood birthdays and nothing says party more than a large bundle of balloons! For this DIY, I wanted to capture the playful essence of balloons but then translate it to something handmade that could be a part of a wedding or an event. These crafted balloon pins are a great favor for your guests, ones that they can actually wear at the wedding. They also can double as escort cards for earlier on in the event. They are fairly easy and economical to make and serve as a personal, handmade detail. Balloons aren’t just for kids anymore!
What you’ll need:
-felt
-fusible interfacing
-fabric – different patterns and textures
-needle & thread
-pin backings
-scissors and/or x-acto knife
-paper to use as a template
-cotton twine
-tacky glue
-cardstock for name tags if using as escort cards
-stamp letters & ink
-double-sided tape
Directions:
1. Cut out two felt pieces of equal size (the size will vary based on how many balloons you are making – my felt pieces were approximately 8x4 and it made 6 balloons). Cut a piece of interfacing slightly smaller than your felt. Sandwich the interfacing between the felt pieces and follow the interfacing directions to iron these three elements together. Once ironed, the interfacing and felt should be adhered together and stiff.
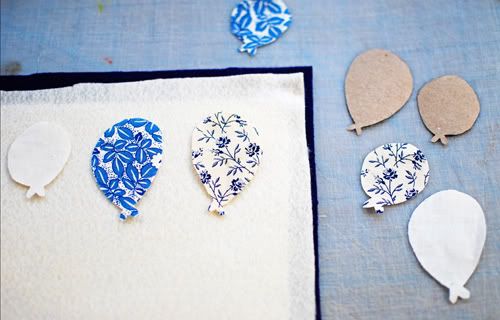
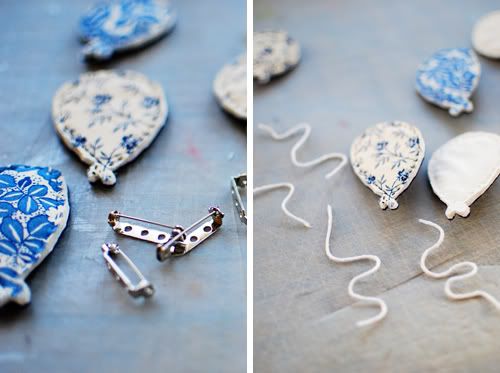
2. Create one or two balloon templates on paper (either by tracing a balloon shape or drawing freehand). Use these templates to trace on fabric and cut out your desired amount of fabric balloons.
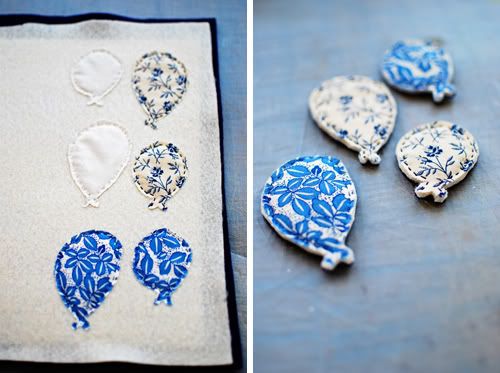
3. Temporarily pin the fabric balloons to your layers of felt and interfacing. Stitch along the edges of the balloons to sew them to the felt. Once done, take out the pins and cut out the balloons. All the layers can be a little hard to cut through, so use an x-acto knife to cut around the small details if needed.
4. Sew or glue pin backings to the backs of the balloons.
5. To make the balloon strings, cut cotton twine into about 4” pieces. Now, there is probably a more sophisticated way to stiffen the twine (like some kind of fabric stiffener) but I just wanted to use stuff I already had. I coated the twine in tacky glue, removed the excess glue, and then positioned the twine, in a curvy manner, onto some plastic acrylic (I think any smooth, plastic surface would work – or even a baking sheet). Let the glue dry for about 30 minutes. The tacky glue will cause the twine to harden and hold its shape. The twine will stick a little but you can easily scrape it off from the smooth, plastic surface.
6. Glue the string to the balloons and let dry.
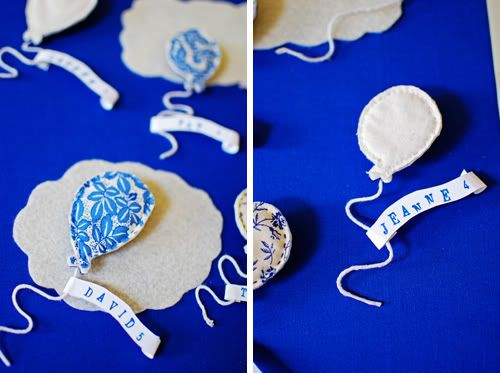
7. If you are just making lapel pins then you are done! Ya! But if you are also turning your balloons into escort cards then cut out thin strips of cardstock. Stamp guest’s names onto the strips along with the respective table numbers. I folded the cardstock around the balloon string and then adhered it with a small piece of double-sided tape (glue would work also).
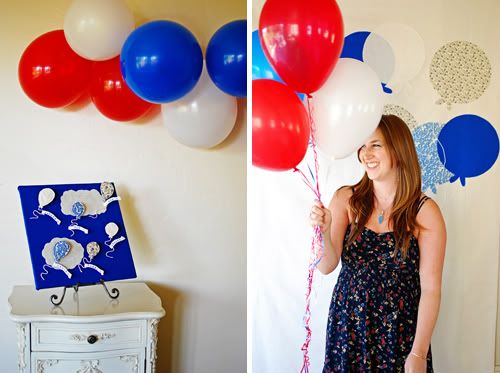
8. I pinned my balloon escort cards to a piece of foam board, covered in blue fabric with white clouds, to display them. This way guests could easily find their name and table, remove the cardstock, and then wear the balloons as lapel pins for the rest of the event.







Looking where to buy tegretol online? No problem!buy tegretol
ReplyDeletethese are so cute:)
ReplyDeletecute! : )
ReplyDeleteI love this! I see it working for other shapes as well. Such a cute and lovely idea. :)
ReplyDeleteThanks for having me again Danni! I'm so honored to write another guest post for your lovely blog. And another big thank you for my awesome brother & his girlfriend for being my adorable models!
ReplyDeleteCute and easy idea, thanks a lot!!!
ReplyDeleteCute and easy idea, thanks a lot!!!
ReplyDeleteCute and easy idea, thanks a lot!!!
ReplyDeleteWhat a cute DIY!!
ReplyDeletelovely idea... & i love most the movement that the twine adds in the "whole picture"...
ReplyDeletehttp://livingthroughthespiritofmydreams.blogspot.com/
those are...just so cute.
ReplyDelete